In this article, we explain the step-by-step process of Ticket Classifier setup in your Zendesk.
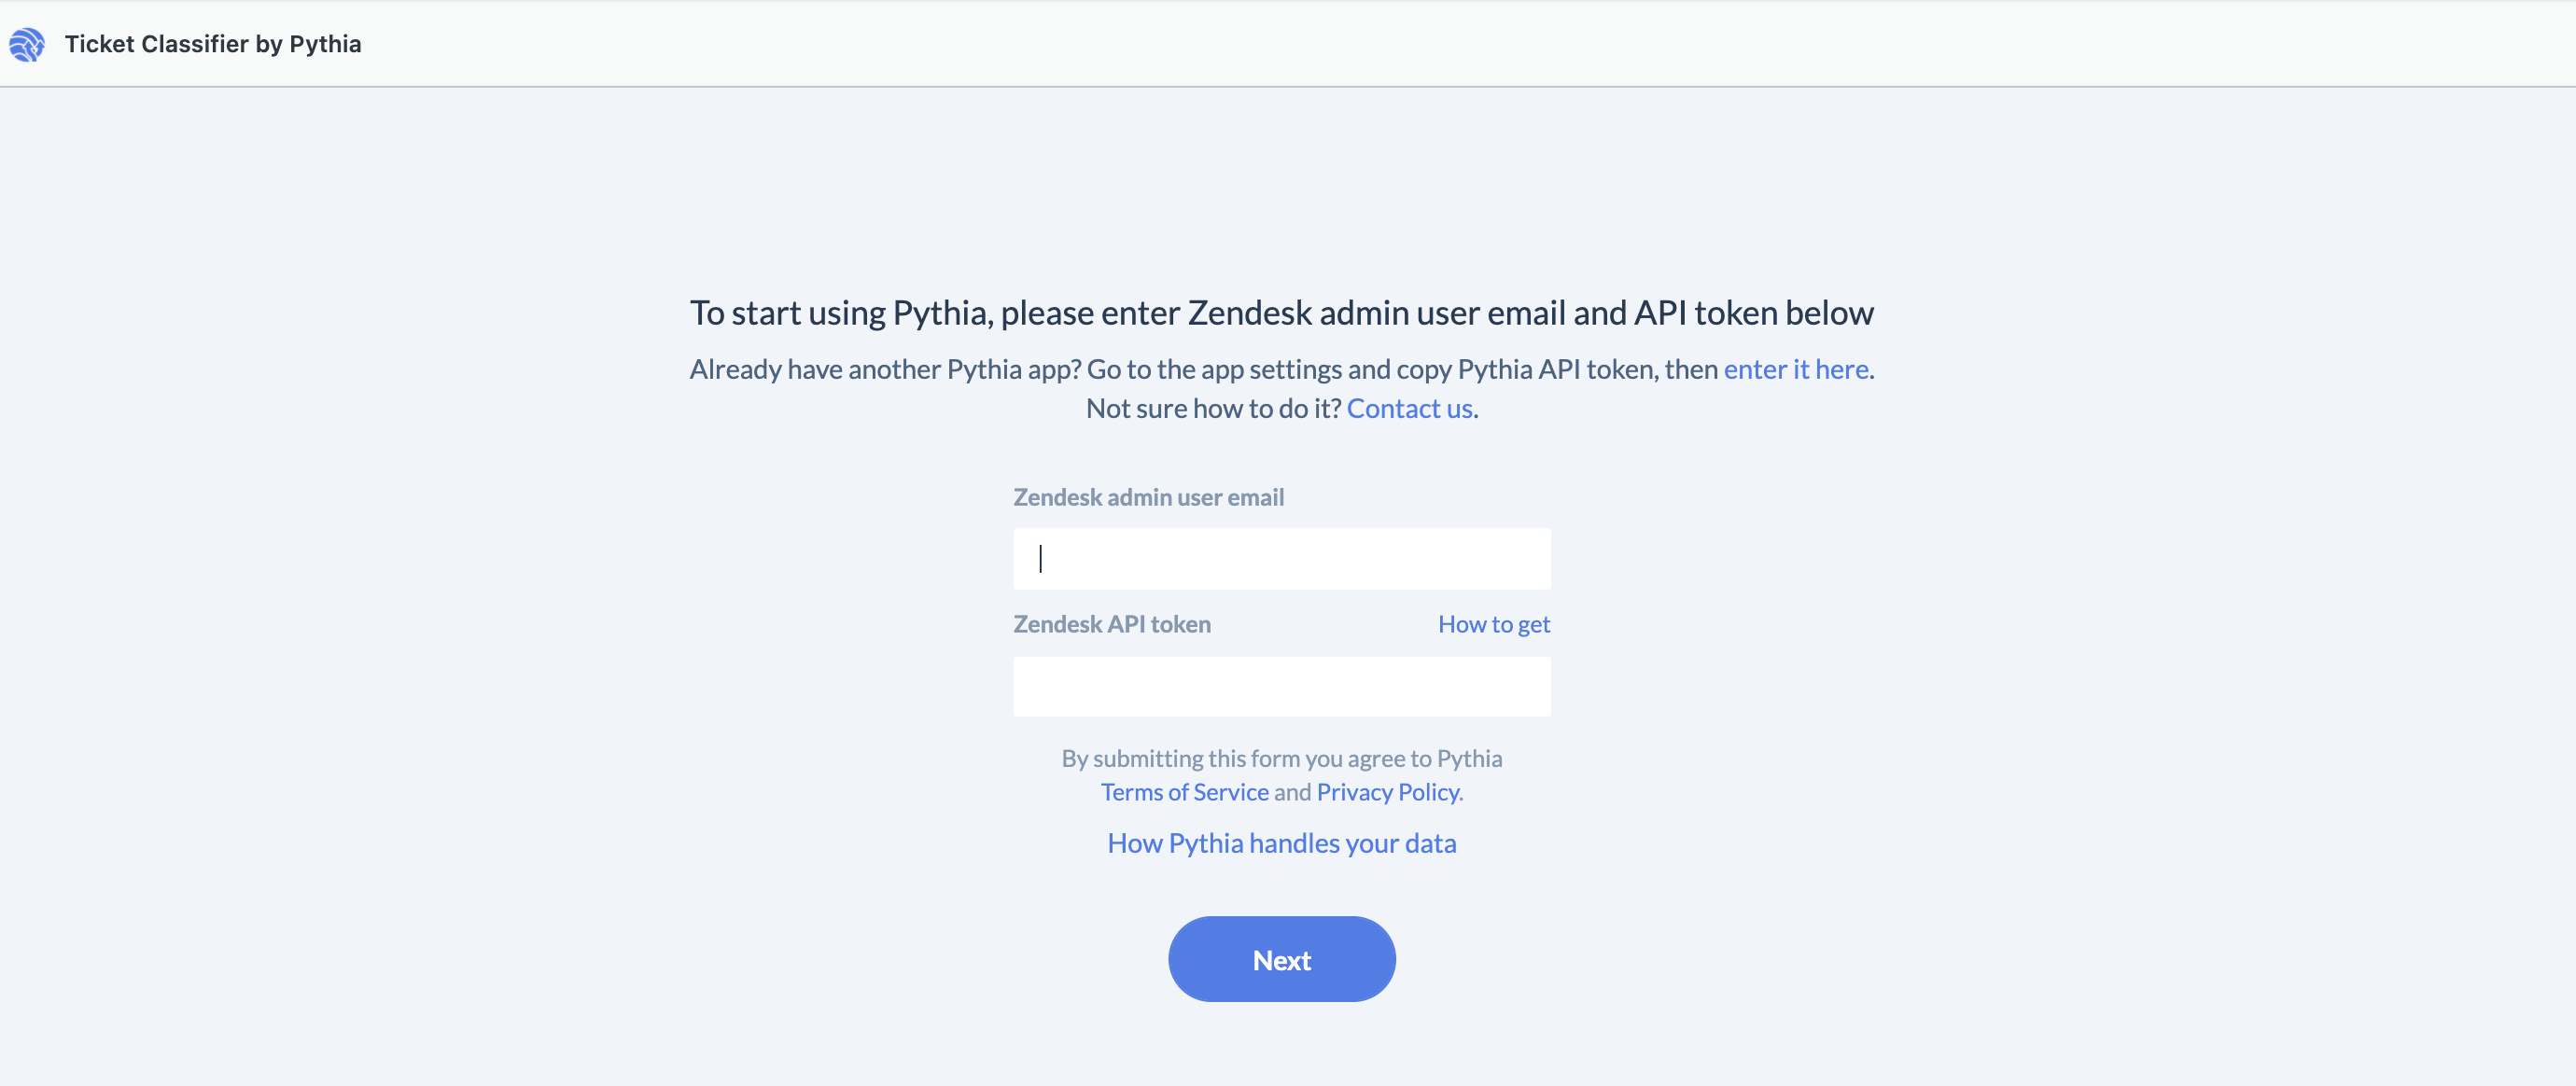
Step 1. Authorize Zendesk access
Add Zendesk admin email and API token to allow Pythia access to your tickets for the categorization. Or add Pythia token from other apps if you have already installed them before.

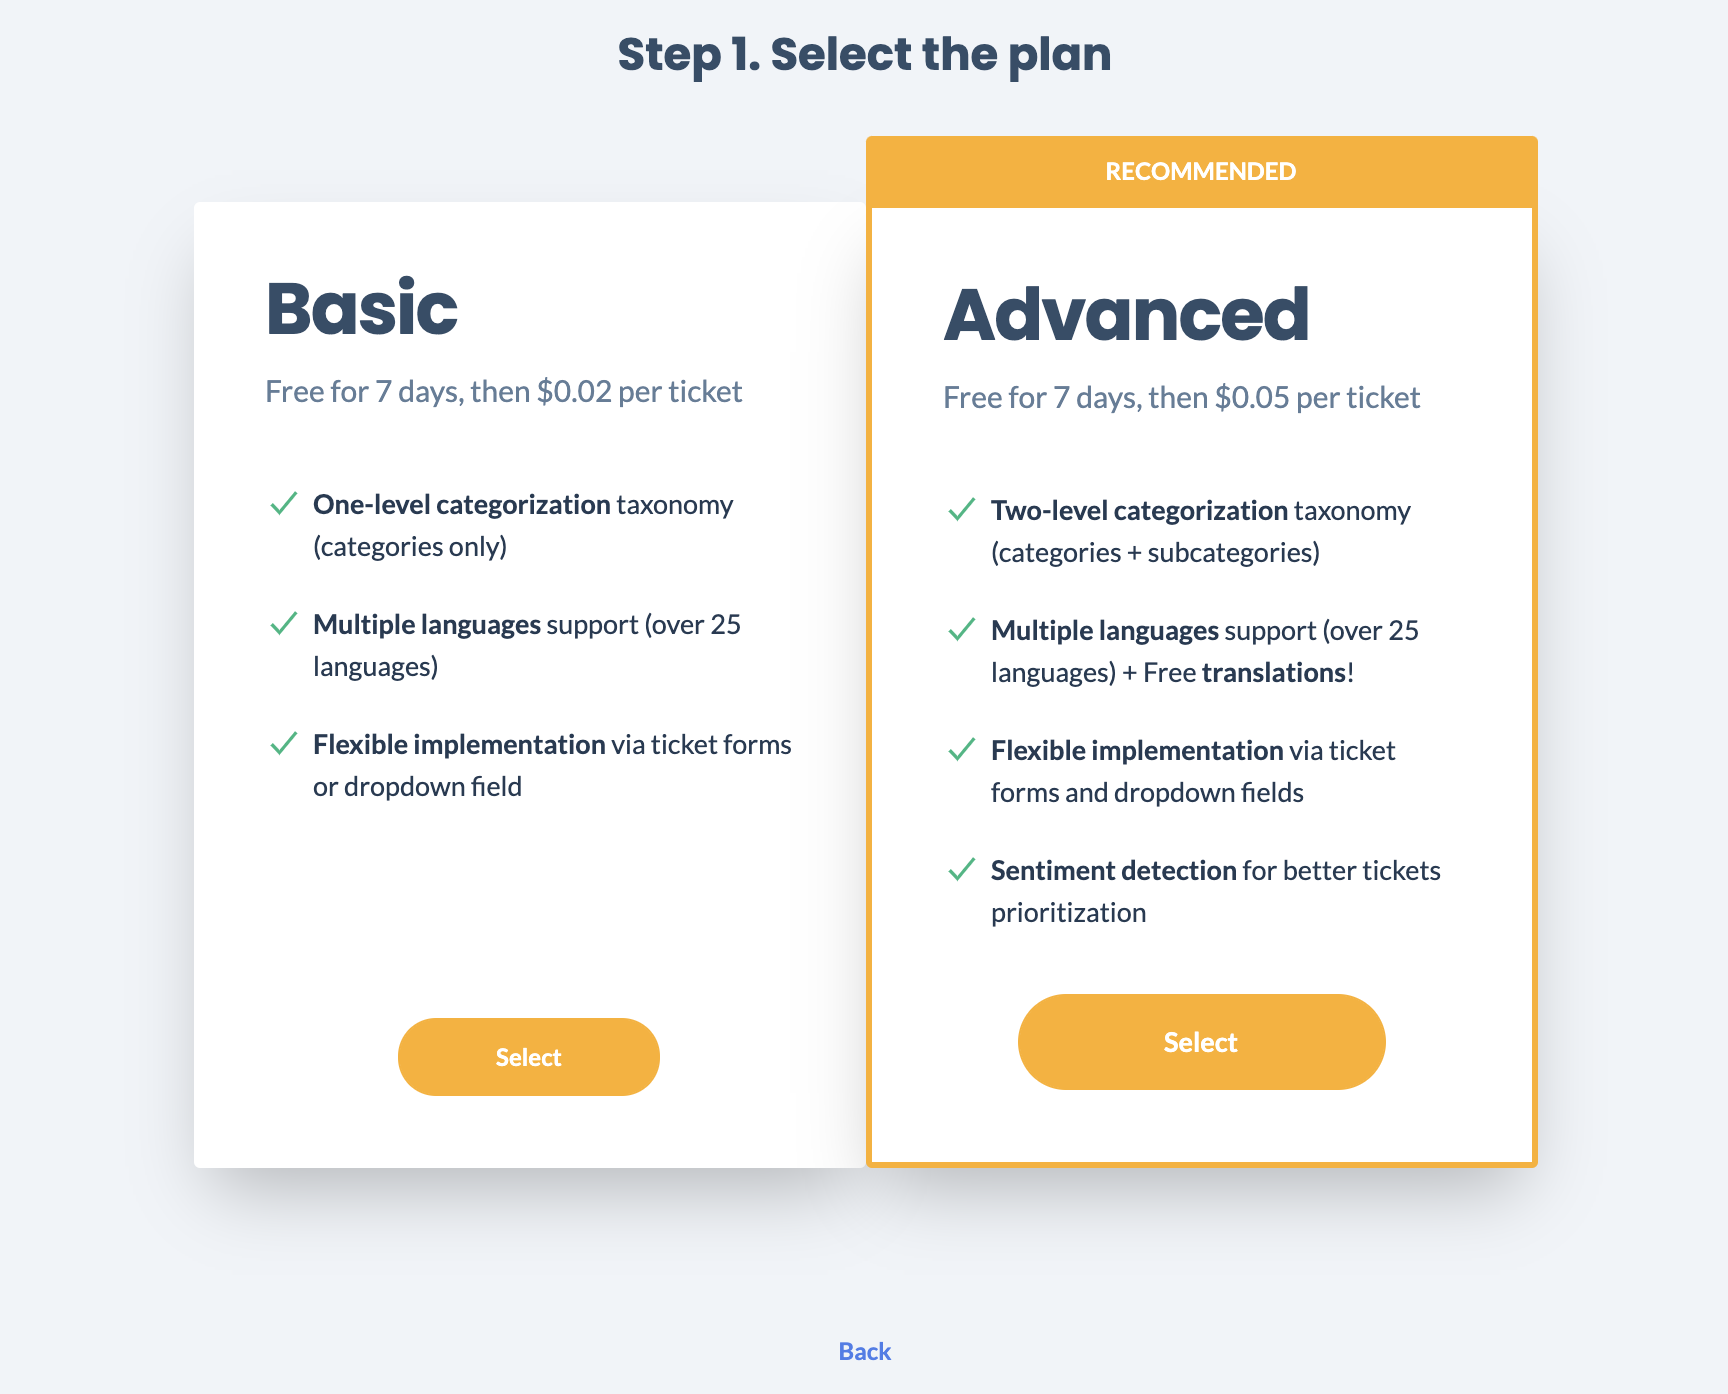
Step 2. Select app plan
Select Basic or Advanced plan depending on the features set that you want to have. It defines what objects will be created during the installation (ticket forms/fields, targets, etc).

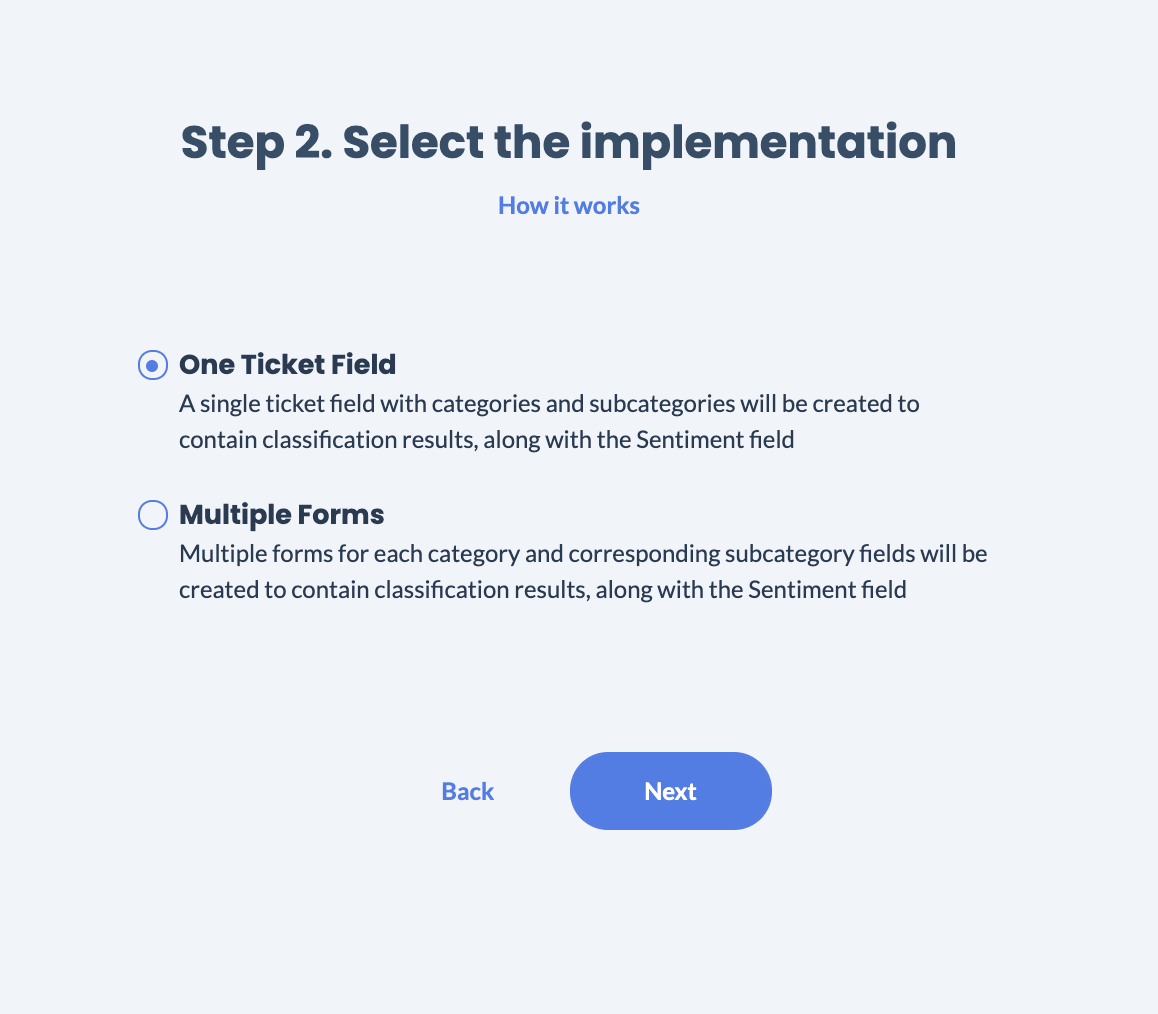
Step 3. Select implementation type
Select the implementation type depending on your Zendesk plan: one form or multiple forms. Both options allows you to add one-level or two-level categorization to your Zendesk (depending on the selected plan in the previous step) – just in a different way (learn more about this in our tip here).

Step 4. Select supported languages
Select the English-only or multiple languages option depending on requesters languages you have in your Zendesk.
Step 5. Finish and check the result
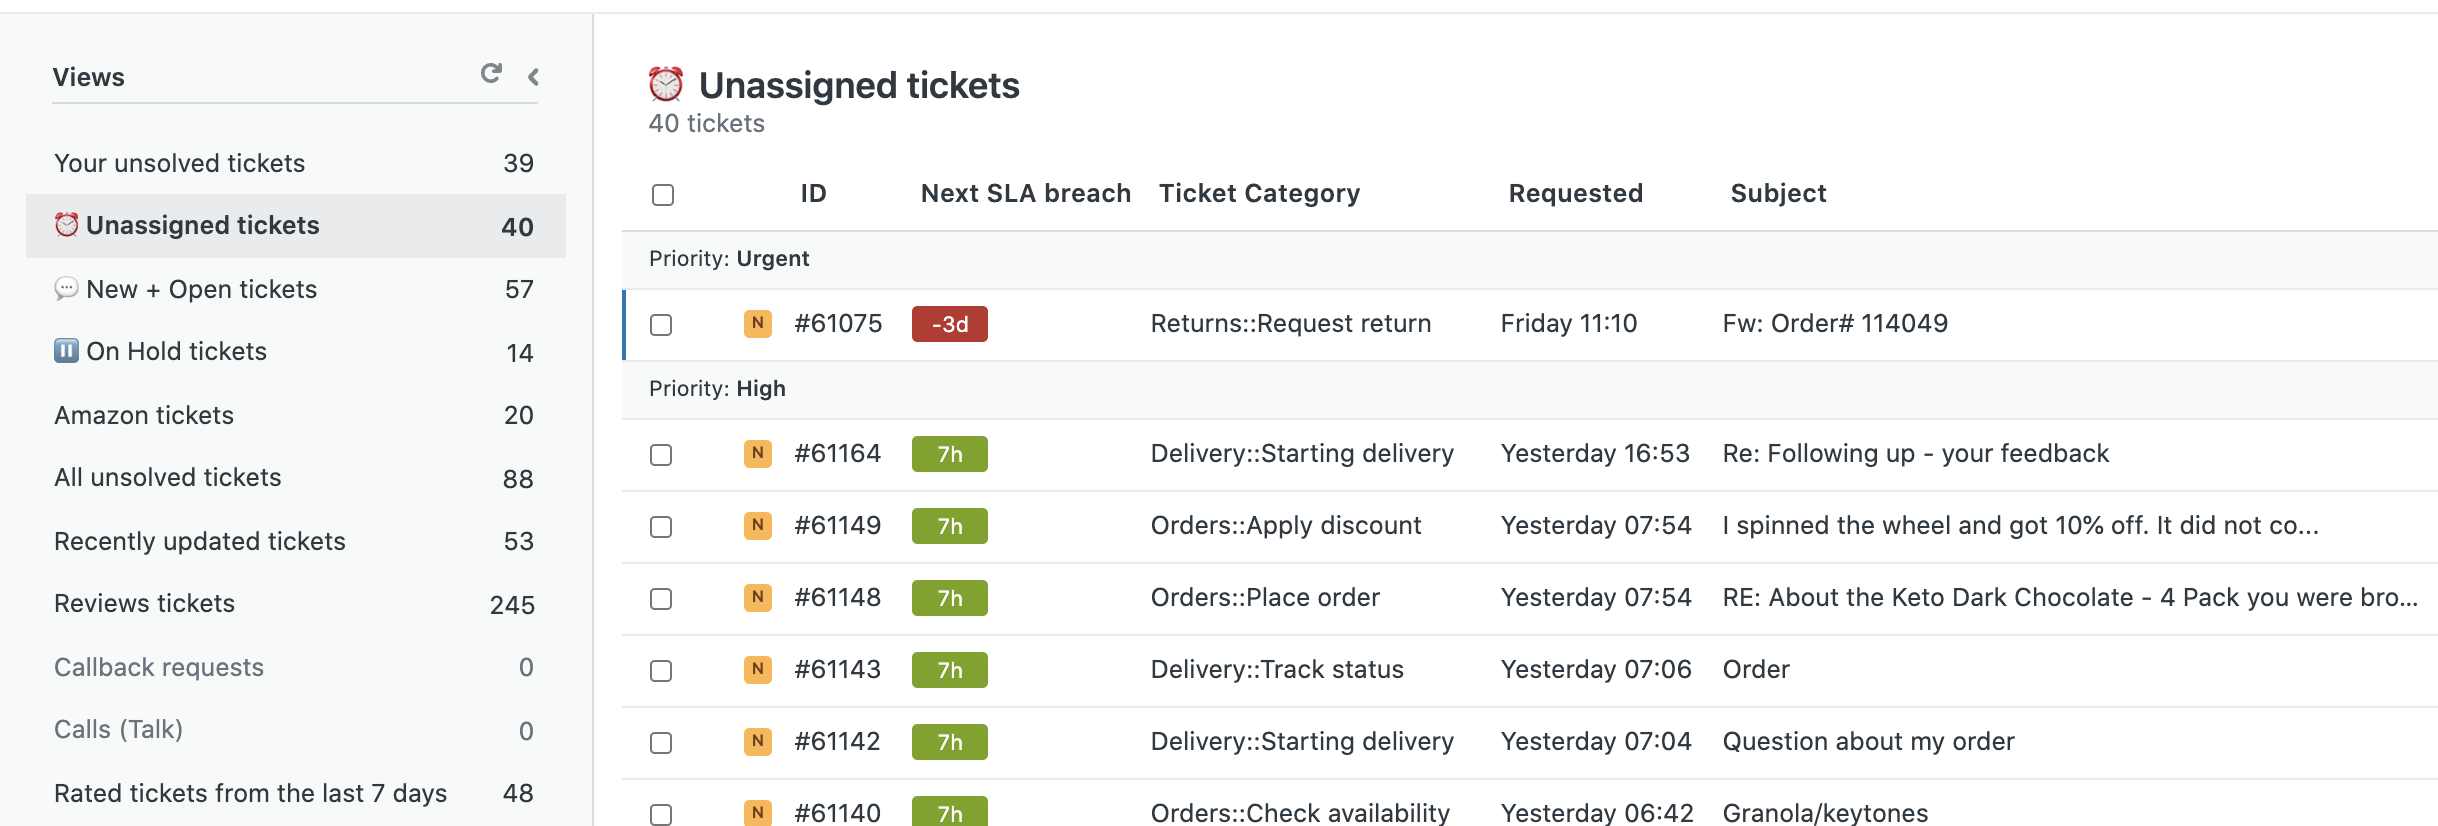
Once all objects have been created in your Zendesk see how the incoming tickets are being categorized now. Enjoy! 😊
💡 TIP
Optimize your ticket views by grouping the tickets by descending Priority and sorting by ascending Next SLA breach (if you use SLAs on your Zendesk). The final view is outlined below. Feel free to contact us for this and other Zendesk optimizations.


